
Urn planters have long been a favored choice for gardeners and homeowners looking to enhance their outdoor spaces. These elegant containers not only serve as eye-catching focal points but also provide a functional way to showcase a variety of plants throughout the seasons. However, to keep your urn planter looking its best all year round, proper maintenance is essential. This guide will explore the key aspects of caring for your urn planter with a stand, ensuring it remains a vibrant highlight in your garden or patio.
Understanding Your Urn Planter
Urn planters come in various materials, styles, and sizes, each offering unique aesthetic benefits and care requirements. Here are some common materials used in urn planters:
- Terracotta: Known for its porous nature, terracotta allows for good drainage but may require more frequent watering.
- Ceramic: Often glazed, ceramic planters are non-porous and retain moisture well, making them suitable for a variety of plants.
- Metal: Durable and stylish, metal urns can resist weather elements, but they may heat up quickly in direct sunlight.
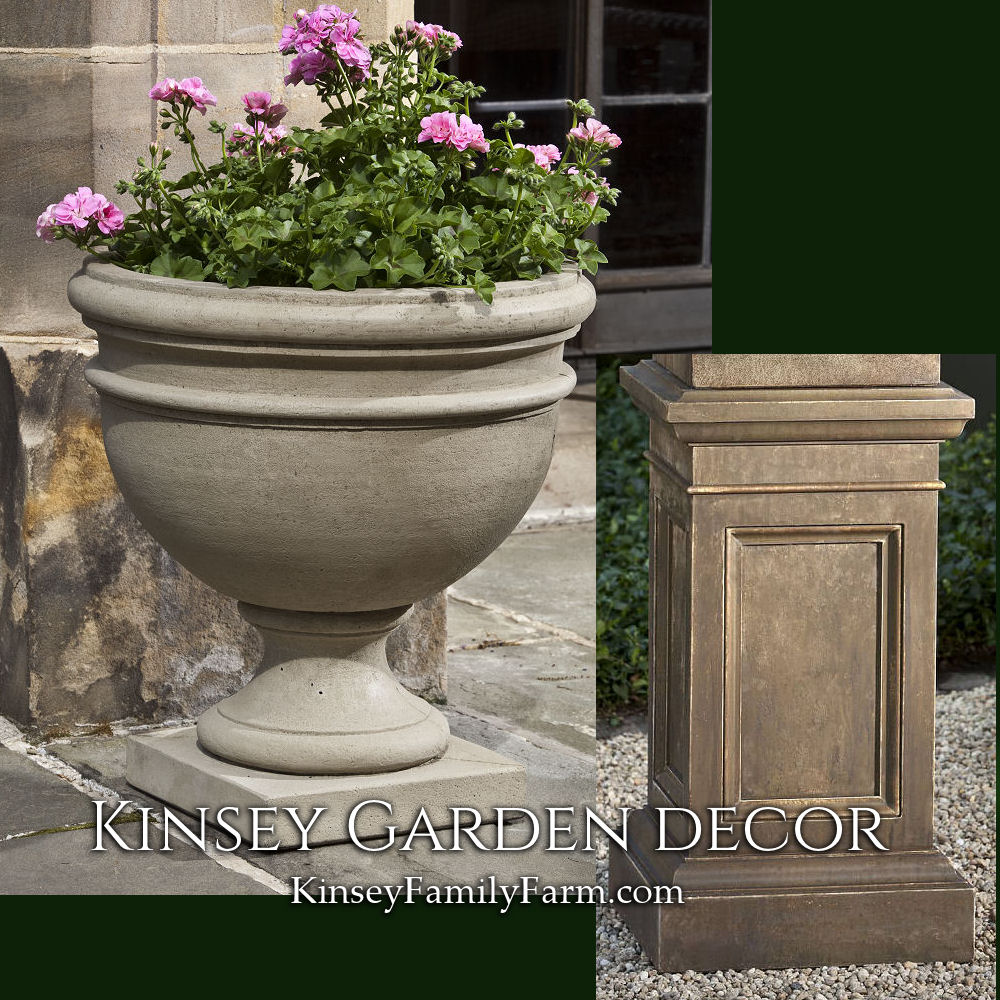
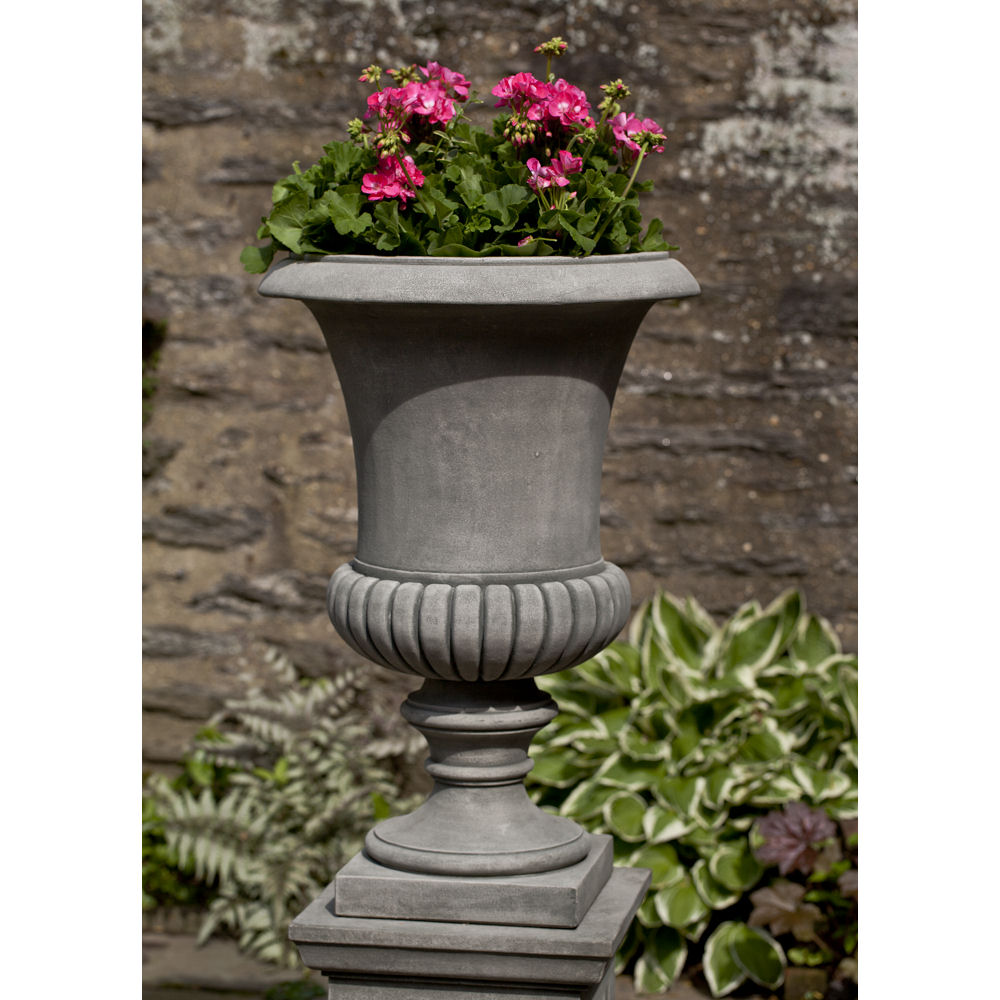
- Concrete: Heavy and sturdy, concrete urns are resistant to wind and can hold large plants but may crack in freezing temperatures.
Understanding the material of your urn planter is crucial, as it affects watering frequency, placement, and overall care.
Seasonal Care for Your Urn Planter
Maintaining your urn planter involves adjusting care routines with the changing seasons. Below are specific guidelines for each season:
Spring: Revitalization and Planting
As the weather warms up, spring is the perfect time to prepare your urn planter for new growth.
- Clean and Inspect: Remove any old plant material, dead leaves, or debris. Check for cracks or damage, especially in ceramic and concrete pots.
- Refresh Soil: Replace old soil with fresh potting mix, enriching it with organic compost to provide nutrients for new plants.
- Select Plants: Choose a mix of annuals and perennials that thrive in your climate. Consider color combinations that complement your outdoor space.
- Watering Schedule: Begin a regular watering routine, as spring often brings warmer temperatures.
Summer: Sustaining Growth
During the summer months, your plants will be in full bloom, requiring consistent care.
- Watering: Ensure your urn planter is adequately watered, especially during heatwaves. Monitor soil moisture levels frequently.
- Fertilizing: Apply a balanced fertilizer every 4-6 weeks to encourage robust growth and flowering.
- Pruning: Deadhead flowers regularly to promote new blooms and remove any yellowing leaves.
- Pest Control: Keep an eye out for pests like aphids or spider mites and employ organic pest control methods when necessary.
Fall: Transitioning and Preparing
As temperatures begin to drop, it’s time to prepare your urn planter for the colder months.
- Harvesting: If you planted edibles, this is the time to harvest and enjoy your bounty.
- Planting for Fall: Consider adding fall-blooming plants like chrysanthemums or ornamental kale to maintain visual interest.
- Protecting Plants: If you have tender plants, consider bringing them indoors or wrapping the urn in burlap to protect against frost.
Winter: Care and Protection
Winter presents unique challenges for urn planters, especially in colder climates.
- Insulating Roots: If your planter is made of a fragile material, wrap it with bubble wrap or burlap to prevent cracking.
- Reduce Watering: Most plants will require less water during the winter months. Monitor soil moisture to avoid overwatering.
- Indoor Transition: Consider moving indoor-friendly plants inside to protect them from freezing temperatures.
- Decorative Elements: Use evergreen branches, pinecones, or holiday decorations to keep your urn attractive during the winter months.
Additional Maintenance Tips

In addition to seasonal care, there are general maintenance practices that can help keep your urn planter looking its best throughout the year.
- Regular Cleaning: Periodically clean the exterior of your urn planter to remove dirt and grime, which can detract from its appearance.
- Inspect for Damage: Regularly check for any signs of wear or damage, particularly after extreme weather conditions.
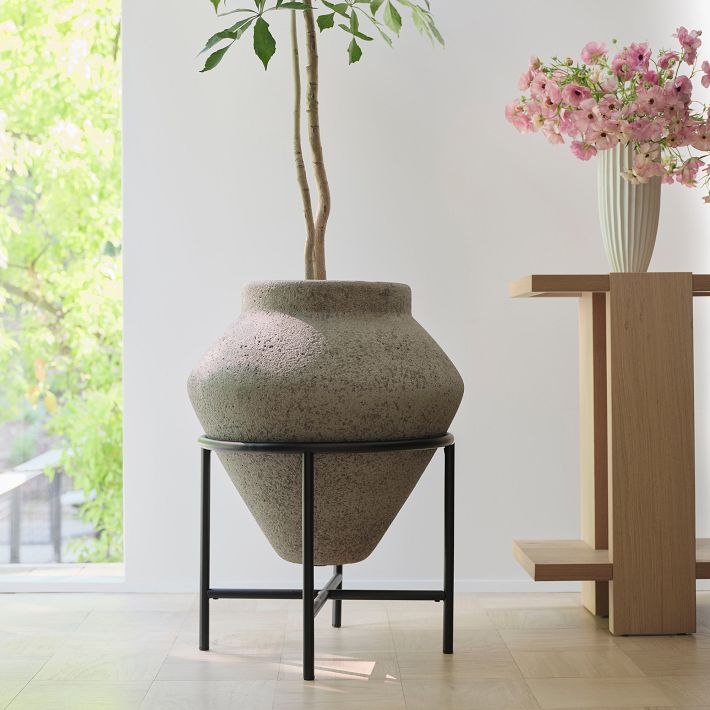
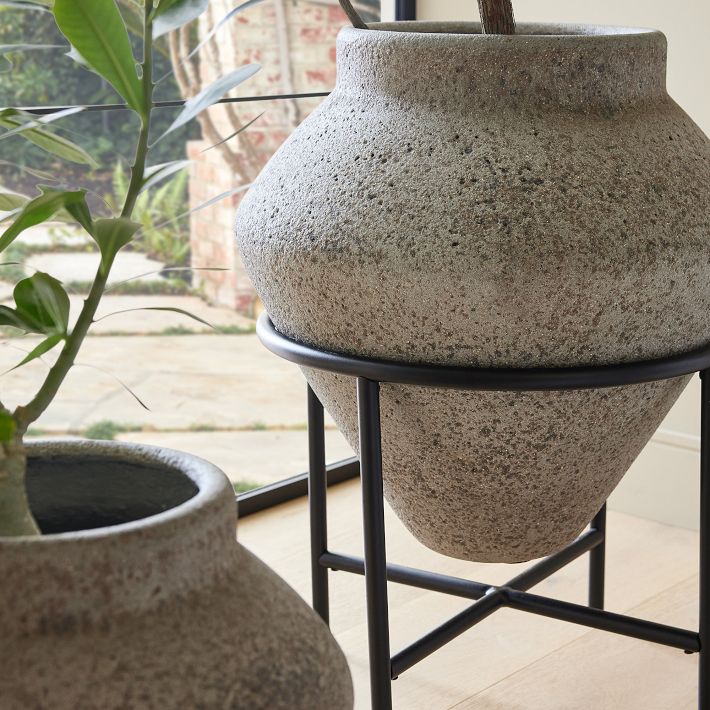
- Rotate Your Planter: If your urn has a stand, rotate it every few weeks to ensure even sunlight exposure for all sides of your plants.
- Use Quality Soil: Invest in high-quality potting soil that provides good drainage and nutrients for your plants.
Case Studies: Successful Urn Planter Displays
Several gardeners and landscapers have successfully utilized urn planters to create stunning displays. Below are two notable examples:
Case Study 1: Residential Garden Transformation
A homeowner in a suburban area transformed their dull entryway by placing two large stone urn planters filled with seasonal flowers. By changing the plants with each season, they maintained vibrant colors year-round. In spring, tulips and daffodils welcomed visitors, while in summer, vibrant geraniums took center stage.
Case Study 2: Public Park Installation
A local parks department installed multiple urn planters in a community park as part of a beautification project. They chose hardy perennials like daylilies and hostas, which require minimal maintenance. The planters not only enhanced the park’s visual appeal but also became a topic of community pride, encouraging residents to engage in local gardening initiatives.
Maintaining your urn planter with a stand can be a rewarding endeavor that enhances the beauty of your outdoor space. By understanding the specifics of your planter material, following seasonal maintenance routines, and implementing general care tips, you can ensure that your urn planter remains a stunning centerpiece throughout the year. As demonstrated by successful case studies, with the right approach, your urn planter can not only beautify your home but also serve as a platform for community engagement and pride. Embrace the art of gardening and enjoy the myriad of benefits that come with caring for your urn planter!